How do I start?
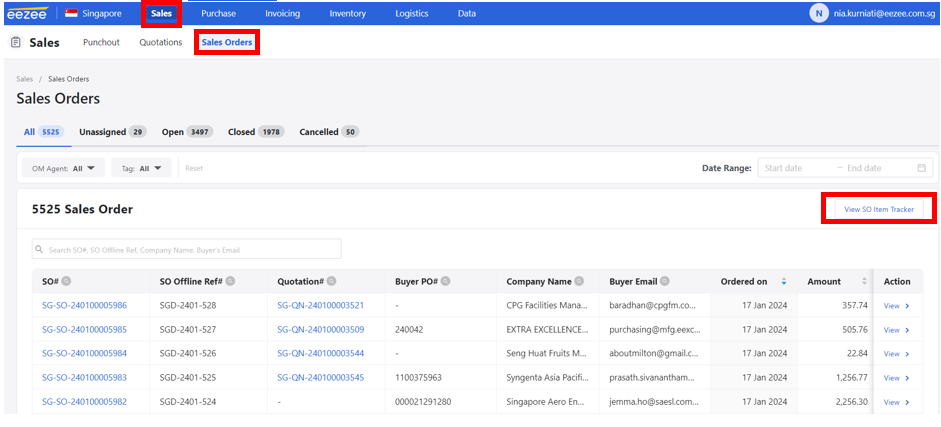
It will show all orders created- both claimed or unclaimed.
All claimed orders will have a corresponding SO LIC (line-in-charge). It means that the LIC has acknowledged the order assignment from the Daily Order Assignment file.
Step 2. To know which orders are assigned to you, you have to check the Daily Order Assignment file. The file consists the list of all orders processed on a monthly basis.
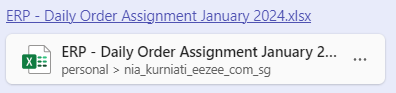
Note: Order assignment is done manually 4x a day. Timings are 9:30am, 11:30am, 2:30pm, and 5pm. Once the orders are assigned, the assignee will announce on Microsoft teams that the orders can be claimed already on the SO Item Tracker page. Order assignment is based on the categories and suppliers handled by each purchasing executive.
Step 3. To know which line items are assigned to you and should be claimed on the SO Item Tracker on ERP, filter the LIC column to your name on the Daily Order Assignment file.

Step 4. Copy the SO number and go to the SO Item Tracker page on ERP.
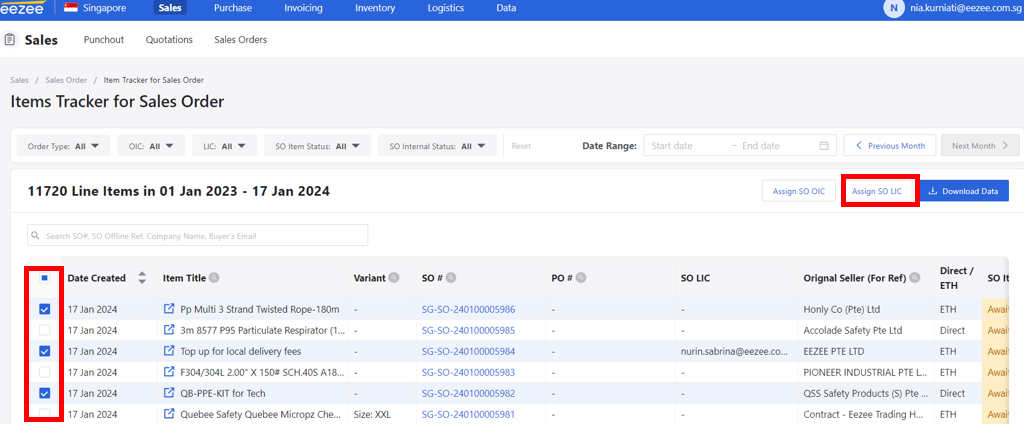
Step 5. Paste the SO number on the search bar.
Step 6. Click the check box and click “Assign SO OIC”. You can check the OIC (order-in-charge) on the OIC column on the Daily Order Assignment file.
Note: SO OIC is the one who handles majority of the line items in a sales order.
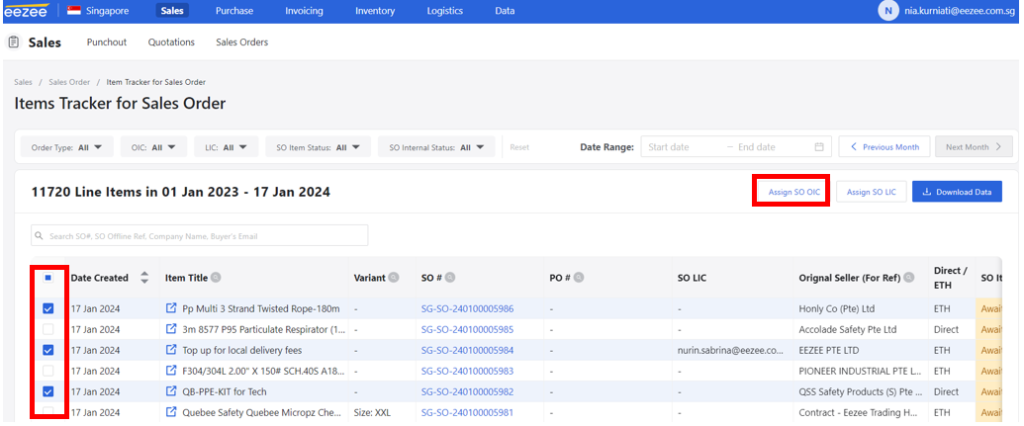
Step 7. Click the check box for just the line items assigned to you and click “Assign SO LIC” to claim the order.
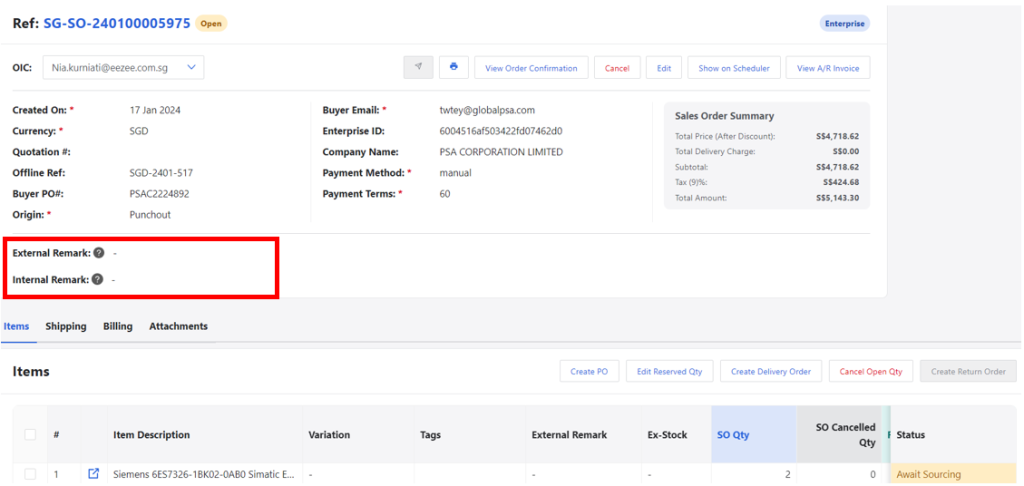
Step 8. To process the SO line item into a purchase order (PO), open the SO number that has been claimed.
Note: Each line item inside an SO may belong to various suppliers. PO should be created per supplier (1 PO = 1 supplier).
Before processing the SO into a PO, please be aware if there are any external/internal remarks from the customer or CS team such as delivery date/timing, revised shipping address, available PIC, and urgent delivery request.
Step 9. Create PO Click here for PO processing.
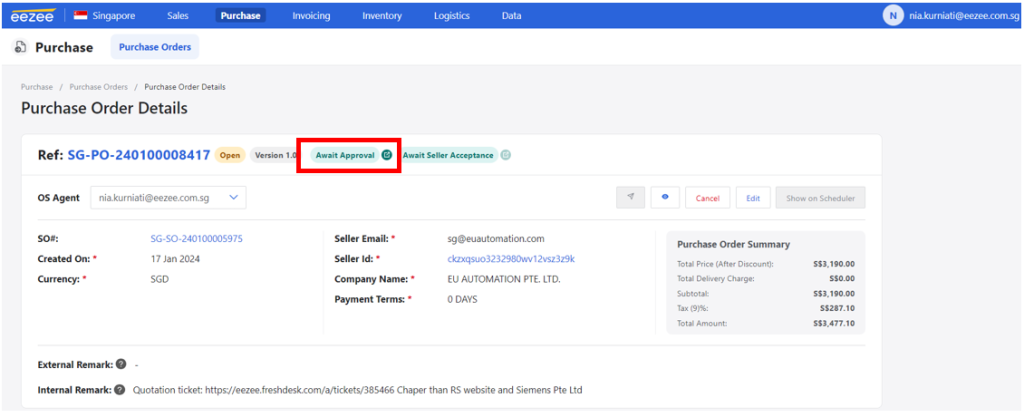
Step 10. Wait for the PO to be approved. You will be notified via outlook once the PO is approved (it may take 5-15 minutes from PO creation to PO approval).
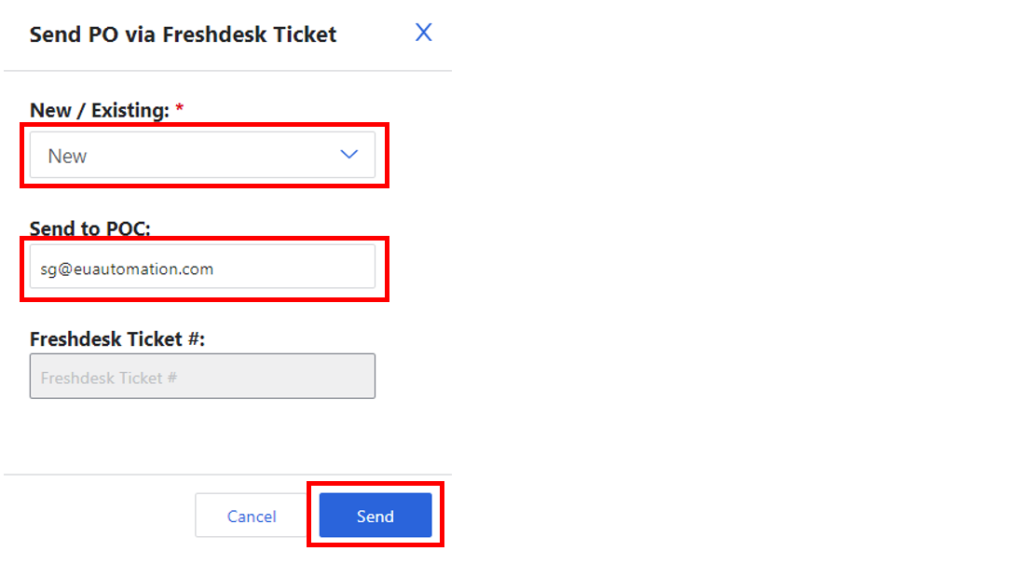
Step 11. After the PO is approved, click the airplane button to send the PO to the supplier via Fresdesk for the order confirmation email.
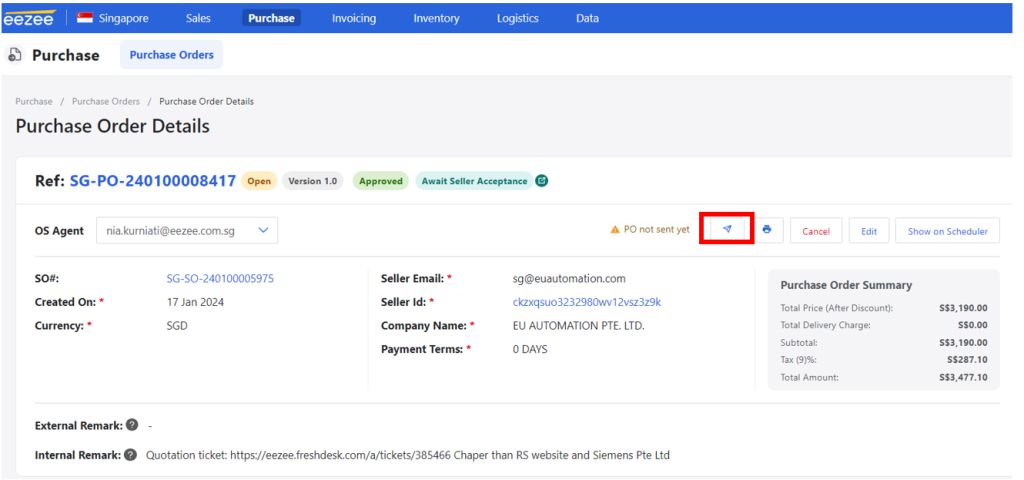
Step 12. Send under a new ticket if there is no RFQ email or send by existing ticket if you do RFQ and ensure the email address is correct before clicking “Send”.
Note: To double check if the email address is correct, you may look for recent order confirmation emails with the supplier on Freshdesk.
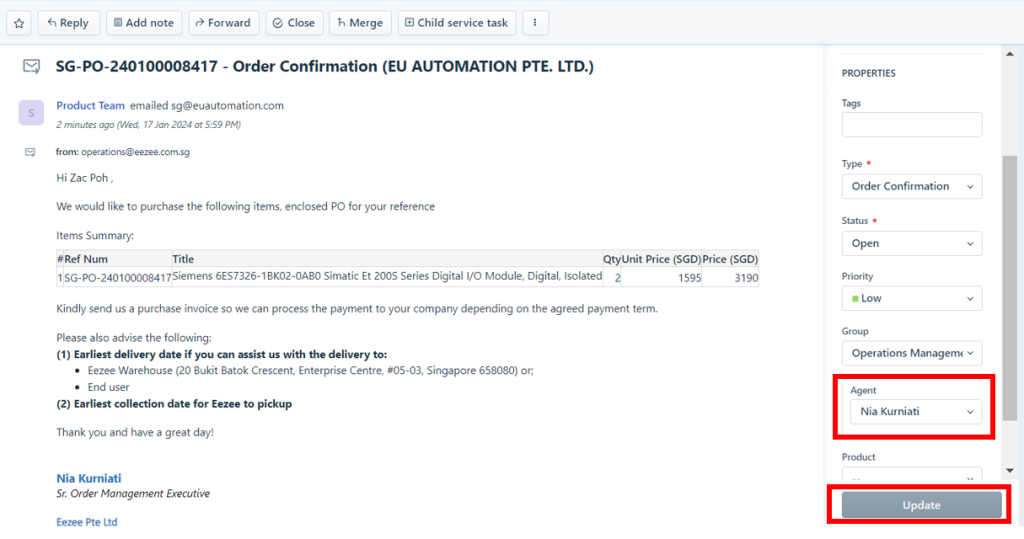
Step 13. After the PO is sent, click the ticket number to be redirected to the Freshdesk page.

Step 14. Claim the ticket by changing the agent and click “Update”.
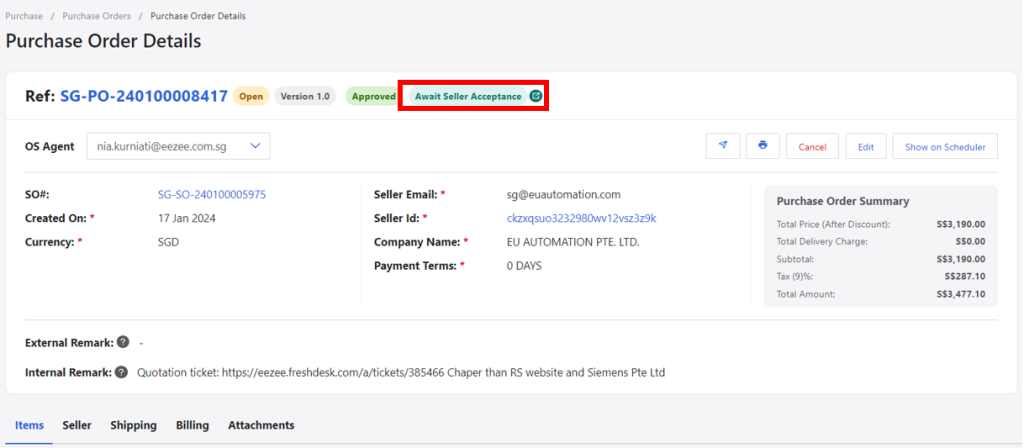
Step 15. Once you get the order confirmation from the supplier, click “Await Seller Acceptance” and accept the order.
Note: Supplier will acknowledge the order confirmation email by sending the tax invoice for us to process the payment, provide the date of collection, or if there are any issues concerning the order fulfillment.
Step 16. Process the invoice < Click here to upload invoice > and wait for the payment voucher to be uploaded by Finance team on ERP.
Note: Payment voucher is a document that we need to forward to suppliers, which serves as our proof of payment in order for them to process the order. It will be uploaded by Finance team on the same day before 4pm (for invoices uploaded before 12nn) or the next working day before 4pm (for invoices uploaded after the cutoff time).
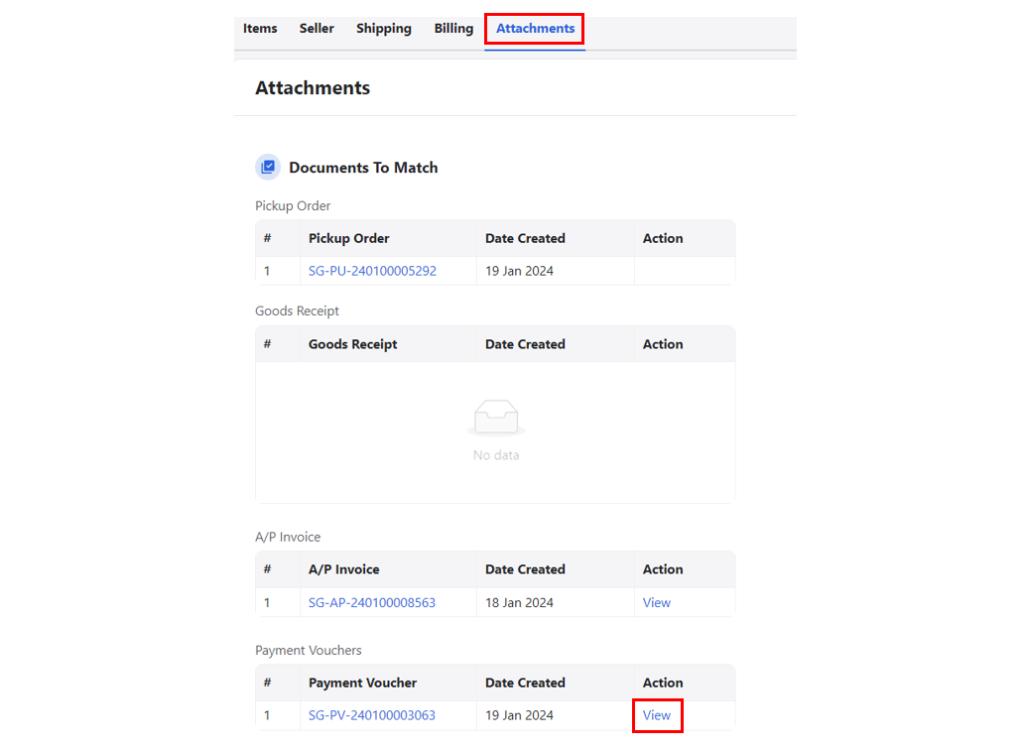
Step 17. Once the payment voucher is ready, download the payment voucher by going to the PO page > Attachments > View Payment Voucher.
Payment slip example:
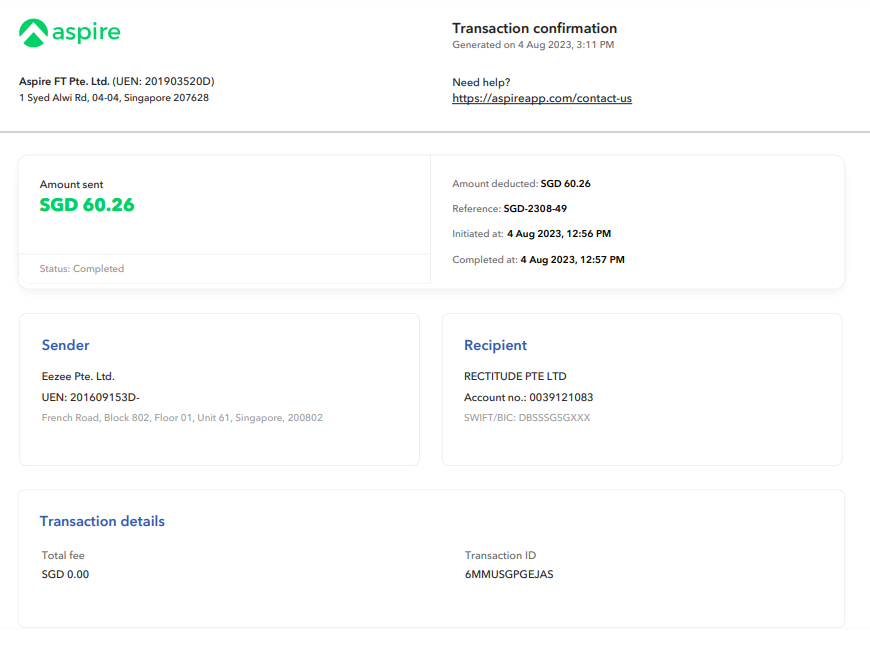
Step 18. Forward the downloaded payment voucher to the supplier and confirm the collection/delivery arrangement.
Step 19. Create the pick up/collection job on ERP.
Click here to set pick up schedule
Step 20. Create the delivery job to the customer on ERP.
Click to set delivery schedule
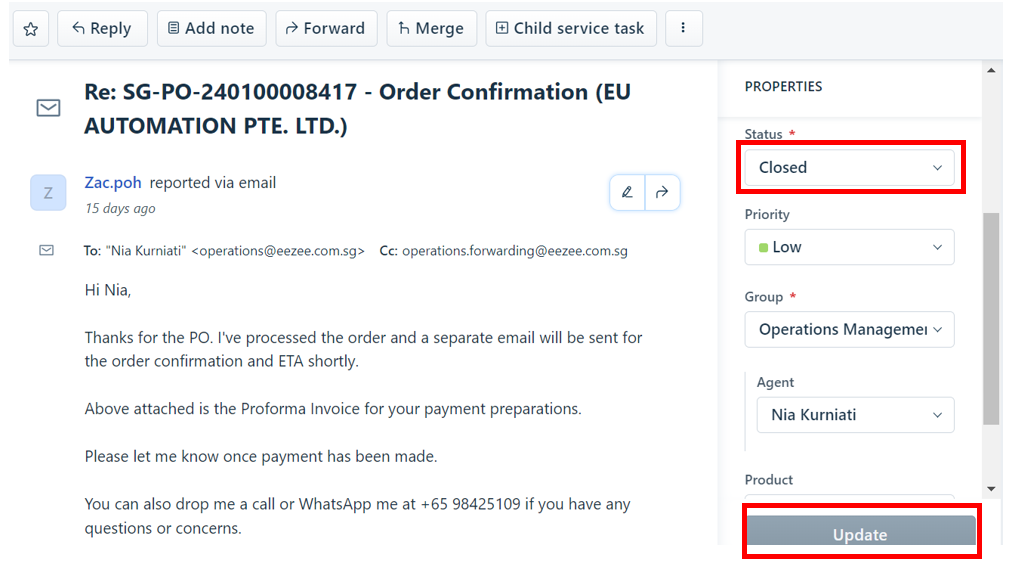
Step 21. Once the pickup and delivery jobs/orders has been created, find the order confirmation ticket on Freshdesk and change the status to “Closed”.